I did search this and still have some un answered questions. The parts I want to paint are used and have been painted already (some sort of tan, a little darker then most stock tan aeg's) The things I want to paint are the basic M4 stock, a JBU front rail, and an ergo grip. From my search I already know i should practice first But all have to practice on is an old metal bodied sportline m4, will that be enough? I know from my search I should use "rust-oleum" or "krylon" paint. How should I paint my gun even though it's been painted already? Do I just paint over it? I was thinking either black Or OD green like the kind in this picture http://www.airsoftpacific.com/album_showpage.php?pic_id=4554&mode=next
Thanks
Repainting an aeg
30 posts
• Page 1 of 2 • 1, 2
-

Patrick750 - Specops

- Team: N/A
- Posts: 1732
- Age: 29
- Images: 1
- Joined: Sun Sep 28, 2008 8:37 pm
- Location: wilsonville
![]() by Merchant » Thu Dec 30, 2010 3:54 pm
by Merchant » Thu Dec 30, 2010 3:54 pm
You'll want to strip the old paint. Don't paint over it will look horrid. It doesn't take much to take off regular spray paint. I would use Methyl Ethel Keytone or fingernail polish remover that is pure Acetone. You can find that at your local Freddie's. While your their pick up a can of Krylon OD green or what ever colors you want.
If you are just going to spray one flat color than you don't really need to practice. If you are looking to do multiple colors than practice on a piece of card board and figure out all the different things you can do with the different paint and stencils and such.
If you are just going to spray one flat color than you don't really need to practice. If you are looking to do multiple colors than practice on a piece of card board and figure out all the different things you can do with the different paint and stencils and such.
-

Merchant - Soldier

- Team: N/A
- Posts: 461
- Age: 33
- Joined: Mon Jan 19, 2009 10:00 am
- Location: Oregon
![]() by Patrick750 » Thu Dec 30, 2010 3:59 pm
by Patrick750 » Thu Dec 30, 2010 3:59 pm
Merchant wrote: Freddie's.
fred meyer?
A dirty Pantac is a happy Pantac

-
Patrick750 - Specops
- Team: N/A
- Posts: 1732
- Age: 29
- Images: 1
- Joined: Sun Sep 28, 2008 8:37 pm
- Location: wilsonville
![]() by Switchback » Thu Dec 30, 2010 4:08 pm
by Switchback » Thu Dec 30, 2010 4:08 pm
yeah fred myers, walgreens, etc. Careful with the acetone; it can knock you out cold if you breathe in too much. Do it outside, and have a brush ready to help. Then you'll want to rinse the parts in COLD water and dry it. Then you're good to go.
"I have the cutest dog."
-

Switchback - 1337

- Team: N/A
- Posts: 2105
- Age: 29
- Images: 7
- Joined: Mon Jul 27, 2009 3:37 pm
- Location: Washington
![]() by Patrick750 » Thu Dec 30, 2010 4:35 pm
by Patrick750 » Thu Dec 30, 2010 4:35 pm
Catch22 wrote:Just paint over the old paint
Okay so I have 2 conflicting tips.
Wont the paint look bad if I do this?
A dirty Pantac is a happy Pantac
-
Patrick750 - Specops
- Team: N/A
- Posts: 1732
- Age: 29
- Images: 1
- Joined: Sun Sep 28, 2008 8:37 pm
- Location: wilsonville
![]() by quigly » Thu Dec 30, 2010 5:07 pm
by quigly » Thu Dec 30, 2010 5:07 pm
Depending on the skill of the first painter, and the skill you have, it can look more splotchy, and over all not that great if you just paint over it. If you are going to use the acetone you should also buy a small wire brush, kinda like a toothbrush. It will make cleaning the parts a lot easier. If you don't want to go the chem route, then a few sheets of maybe 120 grit sandpaper will do the job. It will take more time, but you will avoid any dangers of fumes and such, and I'm sure your parent will like that idea more too. If you do sand it, use long strokes, other wise you can end up with weird side effects(pitting and such). Make sure to rinse every so often to clear dust and check progress. I would also recommended getting even finer grit paper to finish it off to make sure there is no scratches. Also, no matter what prep route you take, make sure to use long even streaks with the paint. Just my $2.00
My father once told me, "Some times all you have is a bullet and a prayer, don't miss."
-

quigly - Specops
- Team: N/A
- Posts: 1230
- Age: 31
- Joined: Sat May 23, 2009 7:35 pm
- Location: Lacey, wa

![]() by Patrick750 » Thu Dec 30, 2010 5:20 pm
by Patrick750 » Thu Dec 30, 2010 5:20 pm
quigly wrote:. Make sure to rinse every so often to clear dust and check progress.
What does this mean? I think I want to go with the chemicals because it seems like it will give me a cleaner finish then just scratching the paint off.
A dirty Pantac is a happy Pantac
-
Patrick750 - Specops
- Team: N/A
- Posts: 1732
- Age: 29
- Images: 1
- Joined: Sun Sep 28, 2008 8:37 pm
- Location: wilsonville
![]() by Nox » Thu Dec 30, 2010 6:03 pm
by Nox » Thu Dec 30, 2010 6:03 pm
Merchant wrote:You'll want to strip the old paint. Don't paint over it will look horrid. It doesn't take much to take off regular spray paint. I would use Methyl Ethel Keytone or fingernail....
Be EXTREMELY cautious when using MEK for ANYTHING. Use chemically rated gloves and if you arent in the open air, plan on a respirator.
MEK can cause blindness if exposed repeatedly or over long term exposure and can also cause nerve damage.
-

Nox - 1337
- Team: N/A
- Posts: 2031
- Age: 52
- Images: 2
- Joined: Tue Mar 01, 2005 5:22 pm
- Location: Grants Pass, Oregon
![]() by Catch22 » Thu Dec 30, 2010 6:32 pm
by Catch22 » Thu Dec 30, 2010 6:32 pm
Is the current paint job uneven or lumpy in any way? If yes.. A light sanding to smooth it out, would be recomended. If the paintjob is smooth and even. You can just paint over it.
-

Catch22 - 1337
- Team: SpecDet1
- Posts: 5963
- Age: 54
- Images: 303
- Joined: Thu Feb 24, 2005 5:14 pm
- Location: Yambag County, Oregon
![]() by killbucket » Mon Jan 03, 2011 4:41 pm
by killbucket » Mon Jan 03, 2011 4:41 pm
YES. Stripping paint is a heartache and a half, and stripper cooks some plastics faster than some paints.
The rule of thumb is: if the substrate is hanging on, prep and paint.

I hit everything with adhesion promoter (bumper primer, it's clear, and evaporates almost completely) before fresh paint.

This isn't an airsoft gun, but my tutorial on a

helicopter re-paint should give a few useful tips:
http://www.killbuckets.com/paintcopter.htm
You might say I've re-finished a gun or two...
http://www.killbuckets.com/index2.htm
The rule of thumb is: if the substrate is hanging on, prep and paint.
I hit everything with adhesion promoter (bumper primer, it's clear, and evaporates almost completely) before fresh paint.
This isn't an airsoft gun, but my tutorial on a
helicopter re-paint should give a few useful tips:
http://www.killbuckets.com/paintcopter.htm
You might say I've re-finished a gun or two...
http://www.killbuckets.com/index2.htm
I have more toys...than anybody...Google my name.
- killbucket
- Ranger

- Team: N/A
- Posts: 542
- Age: 63
- Images: 1
- Joined: Thu Apr 26, 2007 5:17 pm
![]() by Cap n pickles » Mon Jan 03, 2011 4:52 pm
by Cap n pickles » Mon Jan 03, 2011 4:52 pm
Nice KB!

"All our liberties are due to men who, when their conscience has compelled them, have broken the laws of the land."
William Kingdon Clifford
-

Cap n pickles - 1337
- Team: N/A
- Posts: 3757
- Age: 35
- Joined: Tue Sep 02, 2008 8:25 pm
- Location: The dalles, OR
![]() by Patrick750 » Mon Jan 03, 2011 4:56 pm
by Patrick750 » Mon Jan 03, 2011 4:56 pm
Pictures of old paintjob incoming. I can't tell how nice the paintjob is, it seems well done but I want a more a experienced view point
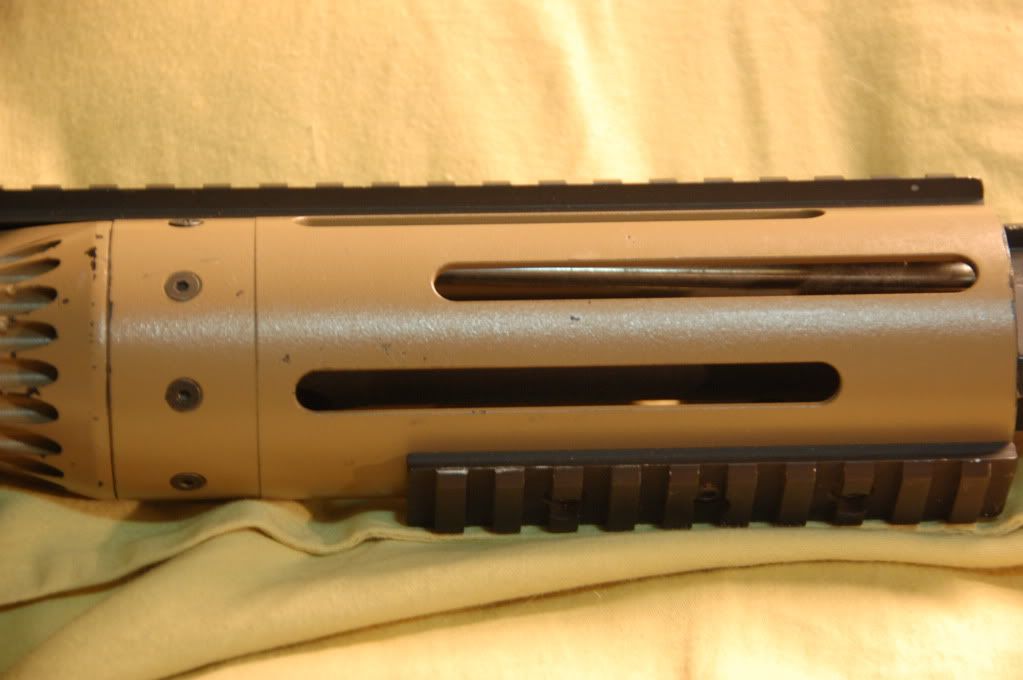
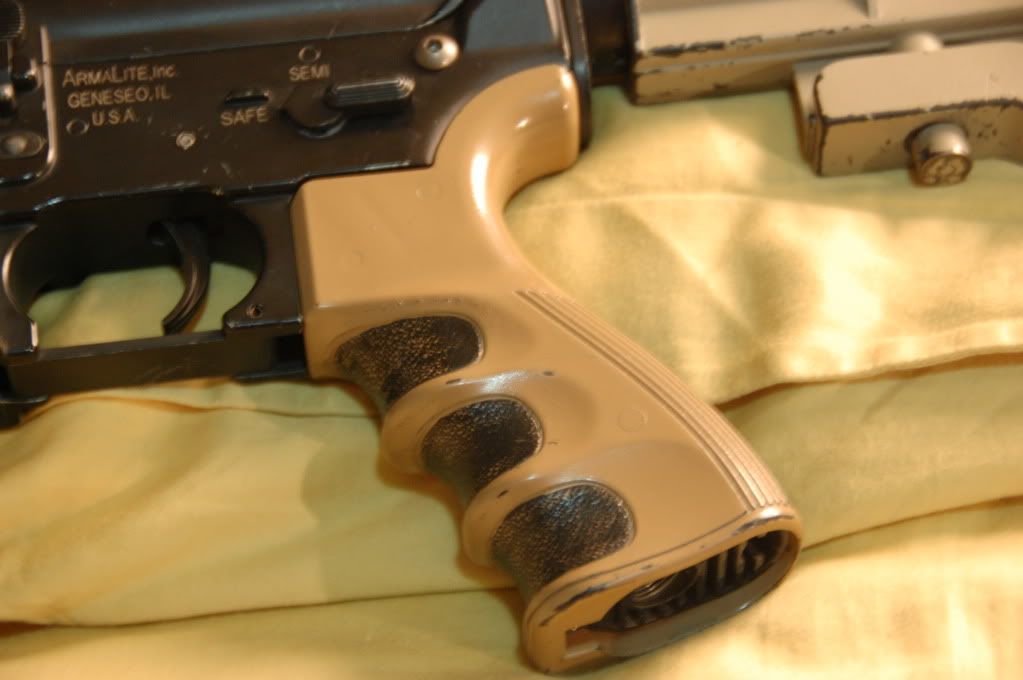
This stock i got sperate and will probably just paint over it
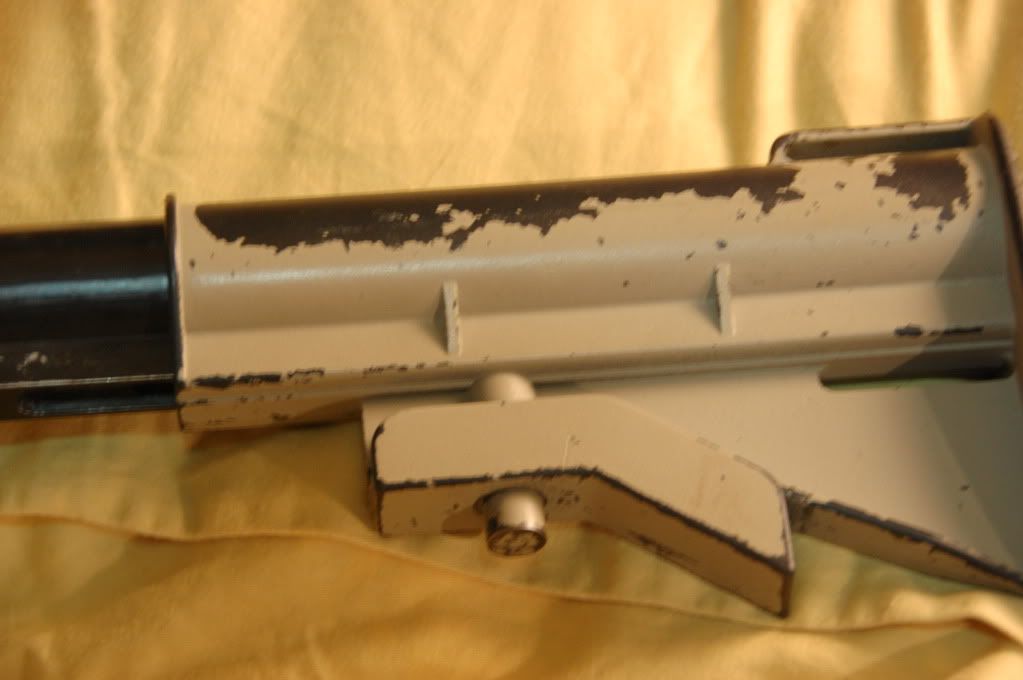
This stock i got sperate and will probably just paint over it
Last edited by Patrick750 on Mon Jan 03, 2011 5:33 pm, edited 2 times in total.
A dirty Pantac is a happy Pantac
-
Patrick750 - Specops
- Team: N/A
- Posts: 1732
- Age: 29
- Images: 1
- Joined: Sun Sep 28, 2008 8:37 pm
- Location: wilsonville
![]() by killbucket » Mon Jan 03, 2011 5:06 pm
by killbucket » Mon Jan 03, 2011 5:06 pm
How to QA a paint-job: by the book. I used to do this for a living, on medical enclosures...
You need:
A sharp blade.
Some USPS-approved, clear box tape.
Procedure:
1. Pick an inconspicuous area 1/2" x 1/2".
Using a sharp razor blade, make a series of tight cross-hatches, about a mm apart.
2. Next, place a strip of fresh, clear box tape over the area, and press it down firmly.
3. Wait ten minutes.
4. Briskly remove the tape in one continuous motion.
Criteria:
Light flaking at the cut edges is OK, but any bared "lands" mean the paint is not holding well enough to re-coat.
If you ignore this, the increased thickness of new paint will enable the layer underneath to chip even easier. If the new paint has a lot of shrink to it, it will begin flaking almost immediately.
I have more toys...than anybody...Google my name.
- killbucket
- Ranger
- Team: N/A
- Posts: 542
- Age: 63
- Images: 1
- Joined: Thu Apr 26, 2007 5:17 pm
30 posts
• Page 1 of 2 • 1, 2
Who is online
Users browsing this forum: No registered users and 2 guests