is not sufficient enough or in-depth enough for some peoples ailments. Therefore I give you the Complete WE 1911 Breakdown Guide.
Enjoi!
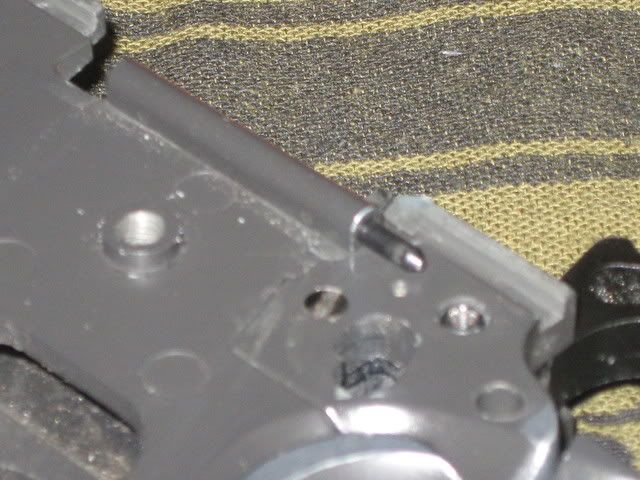
First remove the mag from the replica and dissasemble by moving the slide approximately half way back and align the half circle with the pin that keeps the slide on.
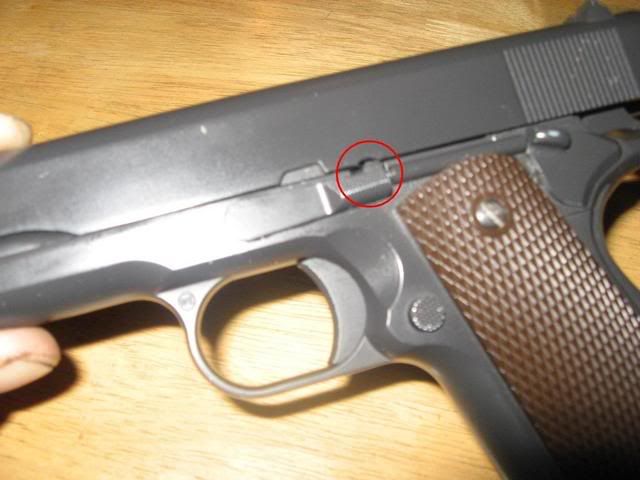
Next apply pressure to the pin until it "pops" out and remove it from the opposite side.
At this point the slide will slide right off the grip and dust cover assembly. set this aside.
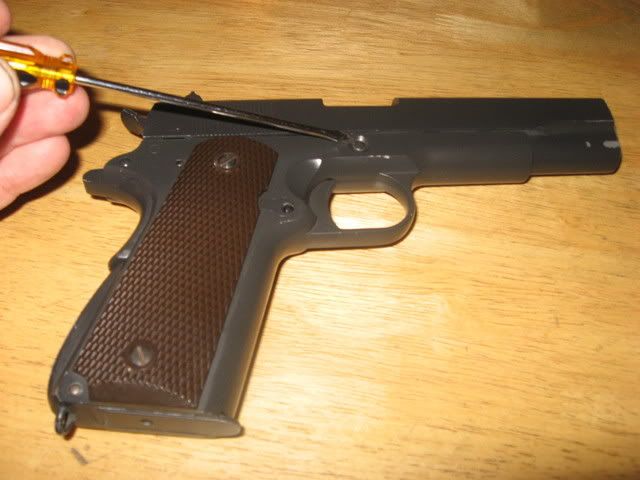
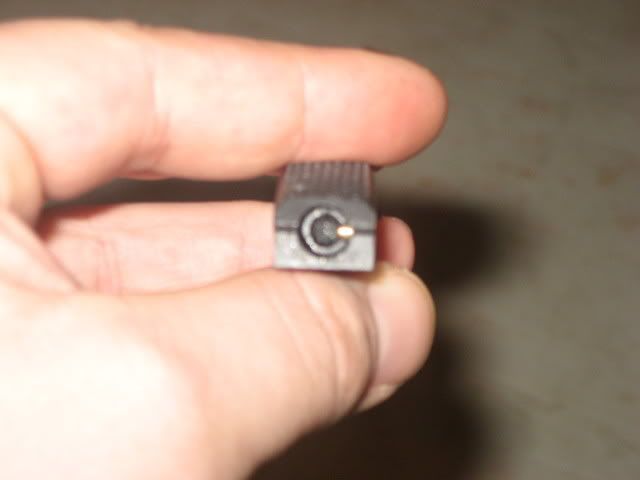
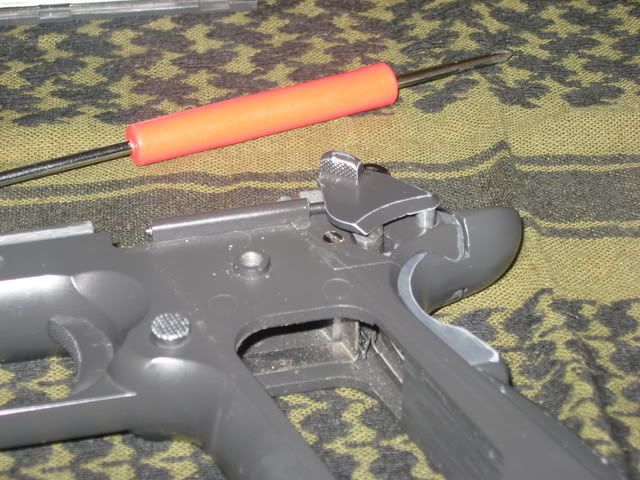
Press the pin holding the bottom rear of the grip out of the gun and set it somewhere where you wont lose it.
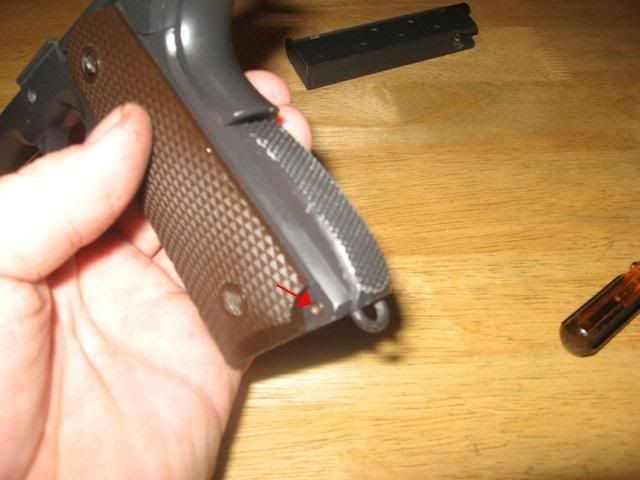
Now slide out the mainspring housing, note that there are rails down the side of it that fit into grooves in the grip
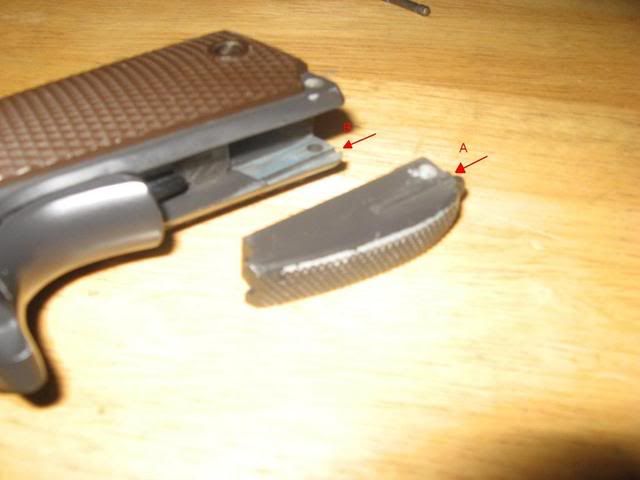
also note that there is a seat for the rat tail to fit into when reinstalling the mainspring housing back into the grip.
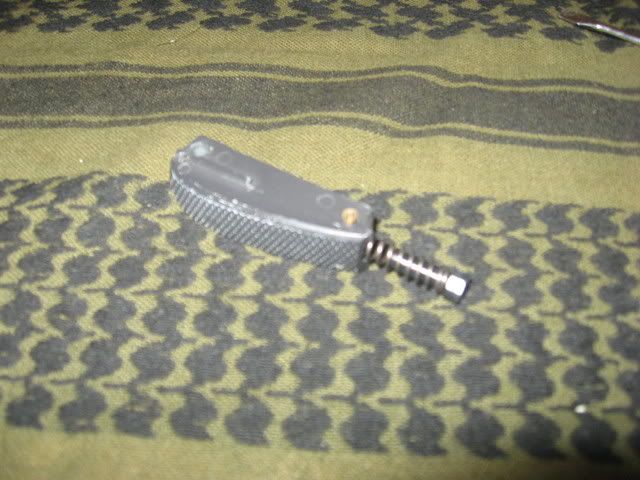
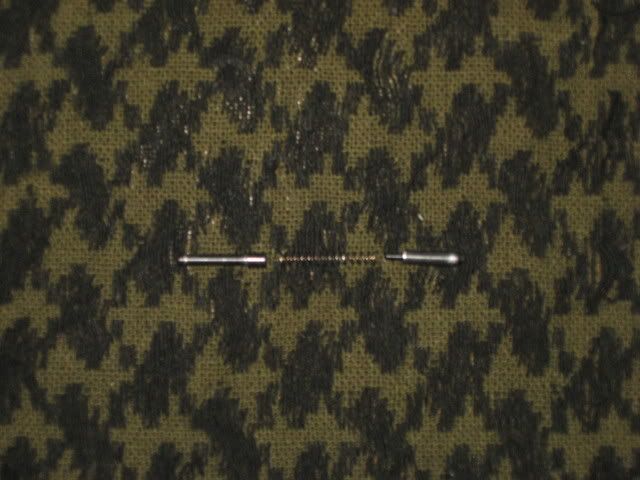
If you are installing a new enhanced trigger spring you will need to compress the inside seat and press out the keeper pin shown here.
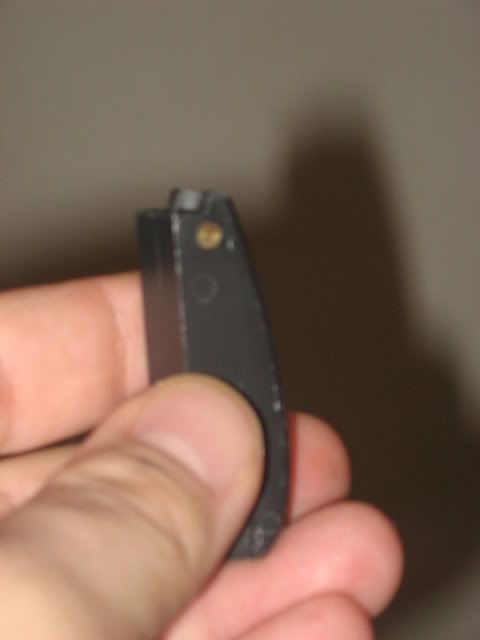
Once the pin is out the internals will come out and should look like this.
To reinstall just reverse teh takedown procedure and replace the pin.
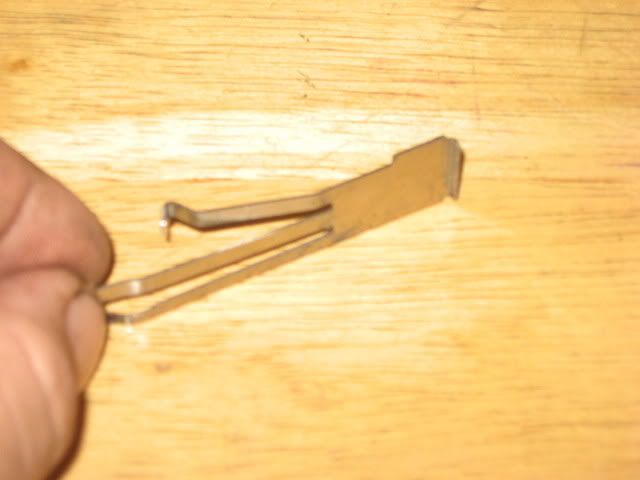
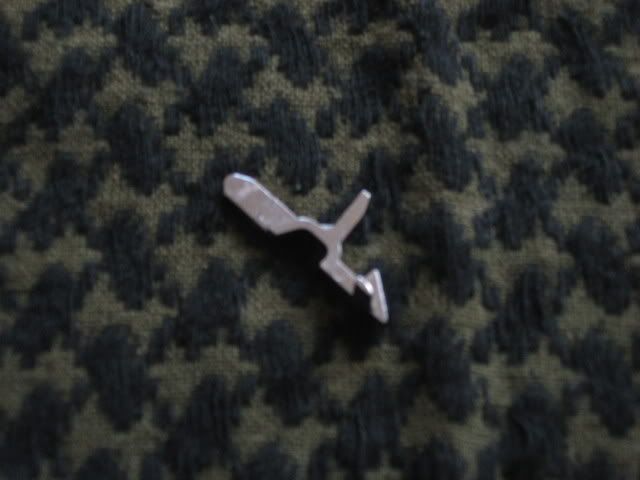
Set it along with the pin and slide to the side. Carefully lift the sear spring out of the grip and make sure that there is no damage. refer to the image for what it should look like.
At this point were going to remove the safety mechanism, PLEASE NOTE!!! when removing the safety take special care not to lose the spring loaded pin that keeps both your safety and slide lock in place
Make sure the safety is fully engaged (all the way up) and carefully lift it out of the body. it doesnt require any tools jsut get your fingernail under it and lift.
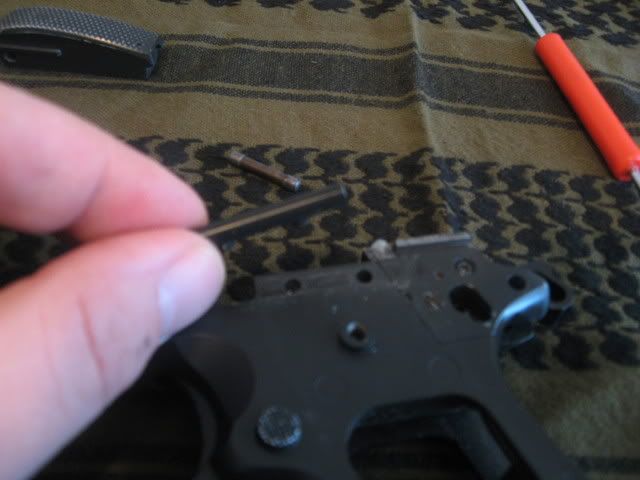
Now remove the two pins and spring from the tube in front of the safety and set them to the side to insure you dont lose them.
NOTE! this is the order in which they will go back into the tube during reassembly.
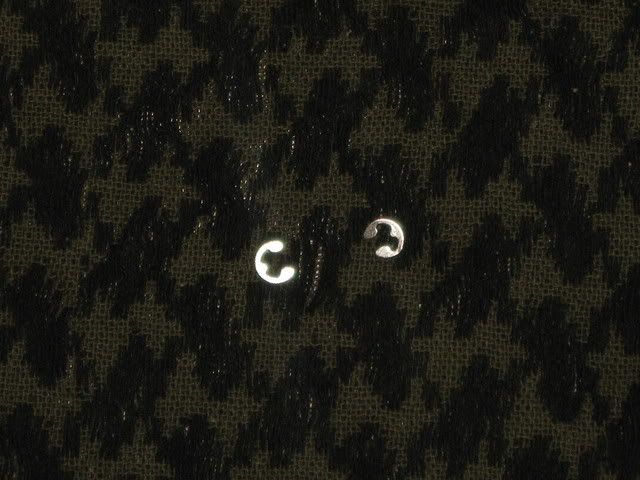
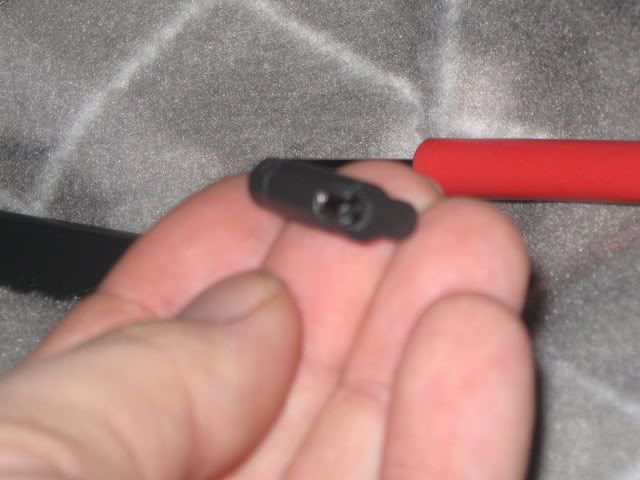
Once those are removed turn the pistol over and locate the two C ring keepers that hold the aforementioned tube in place.
Using a small regular screwdriver or an awl carefully pry out the two keeper and set them to the side.
Now we remove the tube from the pistol,
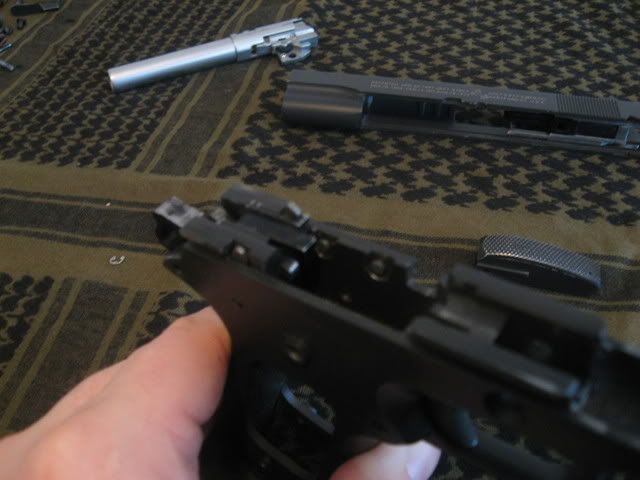
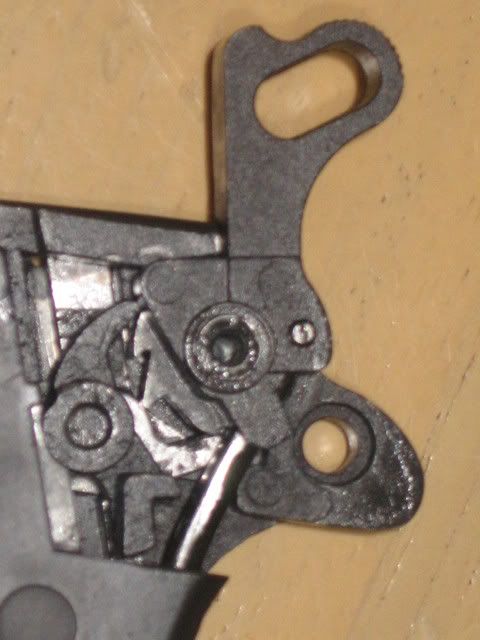
and turn our attention to the two screws in the upper right of the replica. There is a philips(+) screw in the far upper right and a regular(-) one below it and slightly left. DO NOT TOUCH IT!!! there is no need to mess with this screw and trust me it will increase your heartache tenfold. Unscrew the phillips screw (+)
and lift off the panel. If you flip it over or this is the part you need to know how everything fits this is what youre looking at.
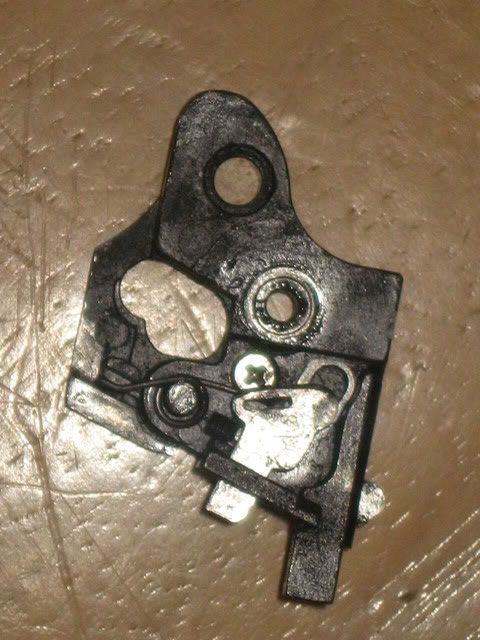
This is the firing pin mechanism and you really dont want to mess with it.
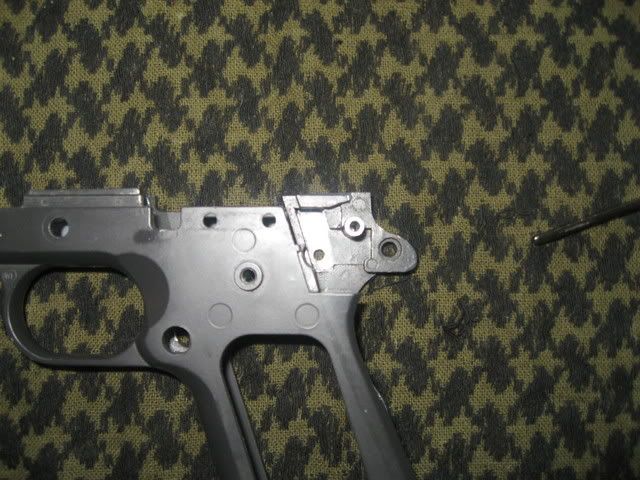
Turning our atention back to the frame,we are now looking at the workings of the hammer mechanism.
Remove the hammer by simply sliding it off the tube it rests on
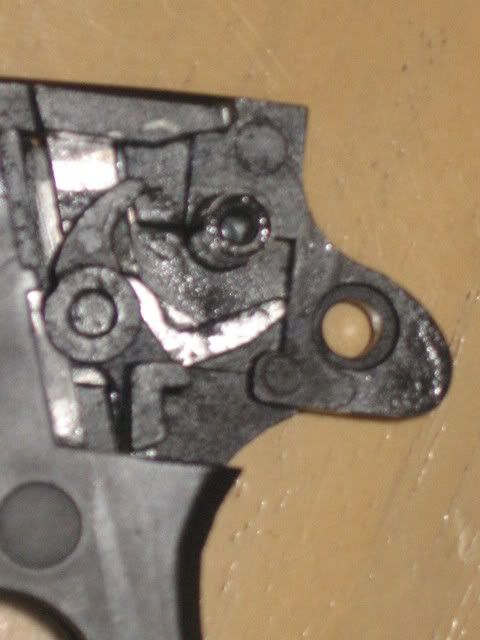
At this point there are only two pieces left. the sear
and another piece that assists with the firing pin assembly
These will both easily lift out of the frame.
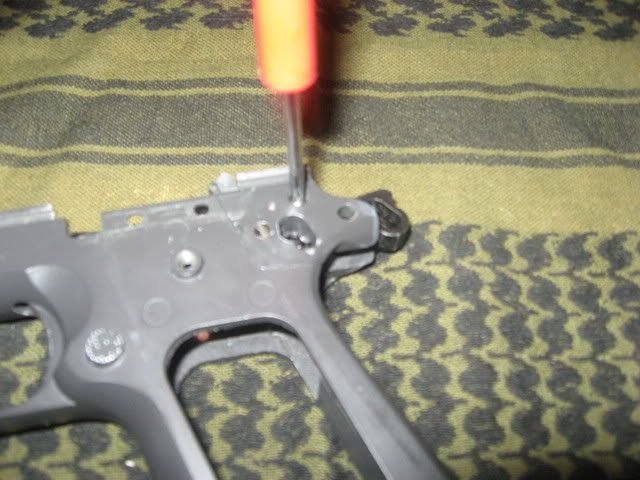
If you turn your attention teh the regular(-) screw that is just behind the trigger opposite teh checkered side of the mag release,
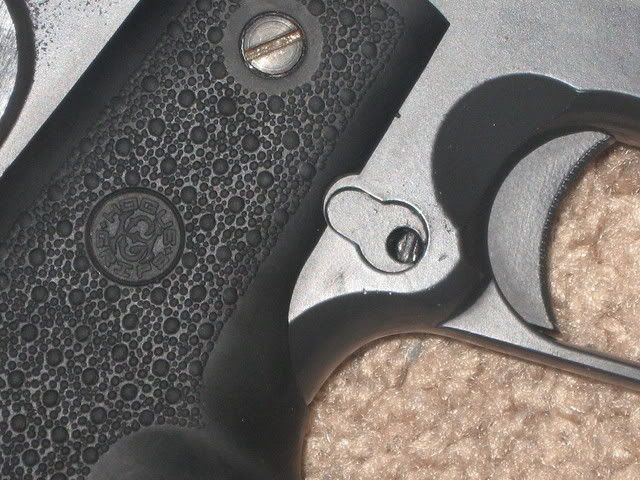
Using the long prong of the sear spring or a small regular(-) screwdriver press the screw in and 1/4 turn ccw DONT FORCE IT it will go very easily. If it doesnt youre not pushing it in far enough. once you have done this turn the frame over and let the mag release slide out.
Now you can remove the actual trigger and you have an empty frame
Reassembly of the Replica is the exact opposite of breakdown and there are no real tricks along the way.
Good Luck


 .
.